Contented for Windows recording basics
Last updated: August 24, 2026
Welcome! This guide walks you through making your very first recording with the Contented desktop app for Windows. It's super easy - if you can press a button, you can record a conversation. Let's go.
What Contented for Windows does
Once downloaded, Contented will capture the audio of a conversation via your computer - a video call, a meeting in the room, a webinar, anything you can hear. Once you've finished, the recording automatically uploads to your Contented workspace, where you can turn it into documents and insights (more on that in the Creating insights guide).
It's not a bot automatically joining your call. Nothing pops up for the other people. Contented listens through your computer, the way you do.
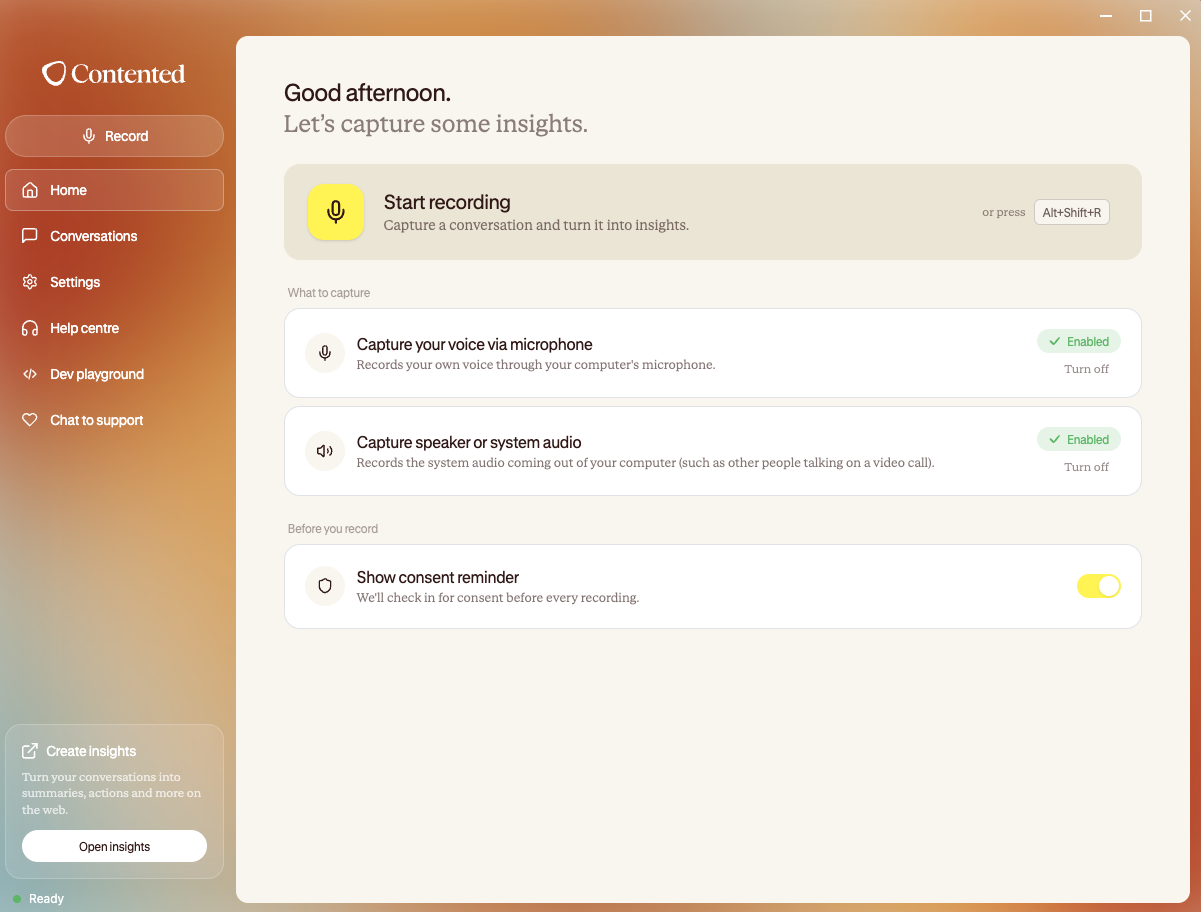
Starting a recording
Open the Contented app on your computer and make sure you're on the Home screen (the little house icon in the menu on the left).
Click the big yellow Start recording button.
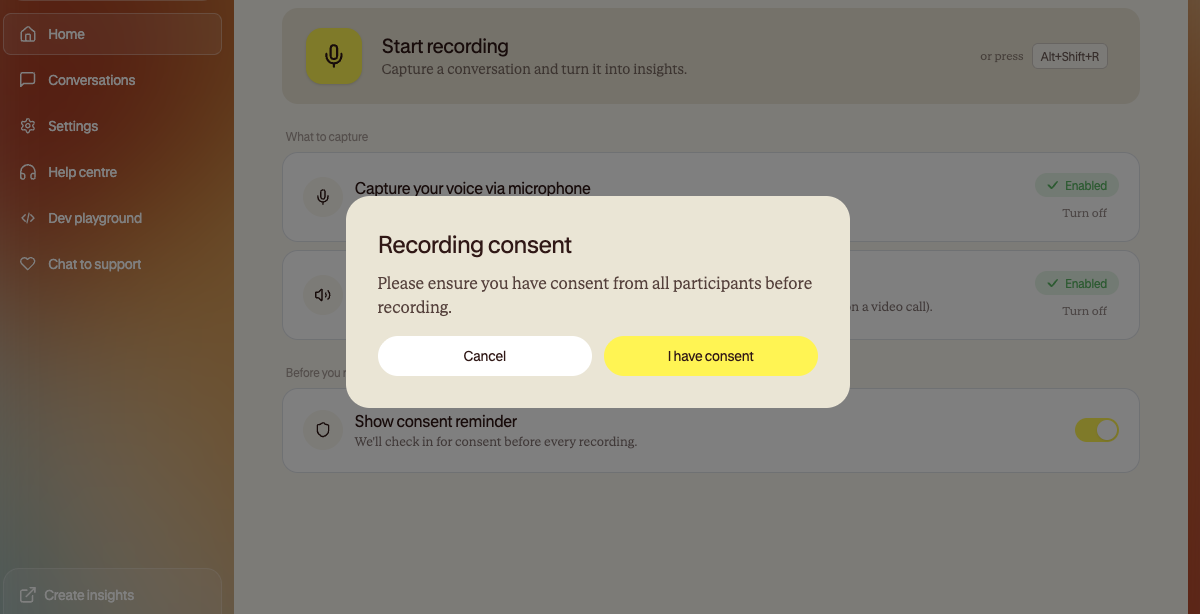
If a small window appears asking you to confirm everyone has agreed to be recorded, click I have consent. (This is an optional reminder, you can turn it off later if you prefer not to see it.)
That's it - you're recording.
Prefer the keyboard? Start a recording at any time by pressing Alt + Shift + R together. You don't even need the Contented window in front of you.
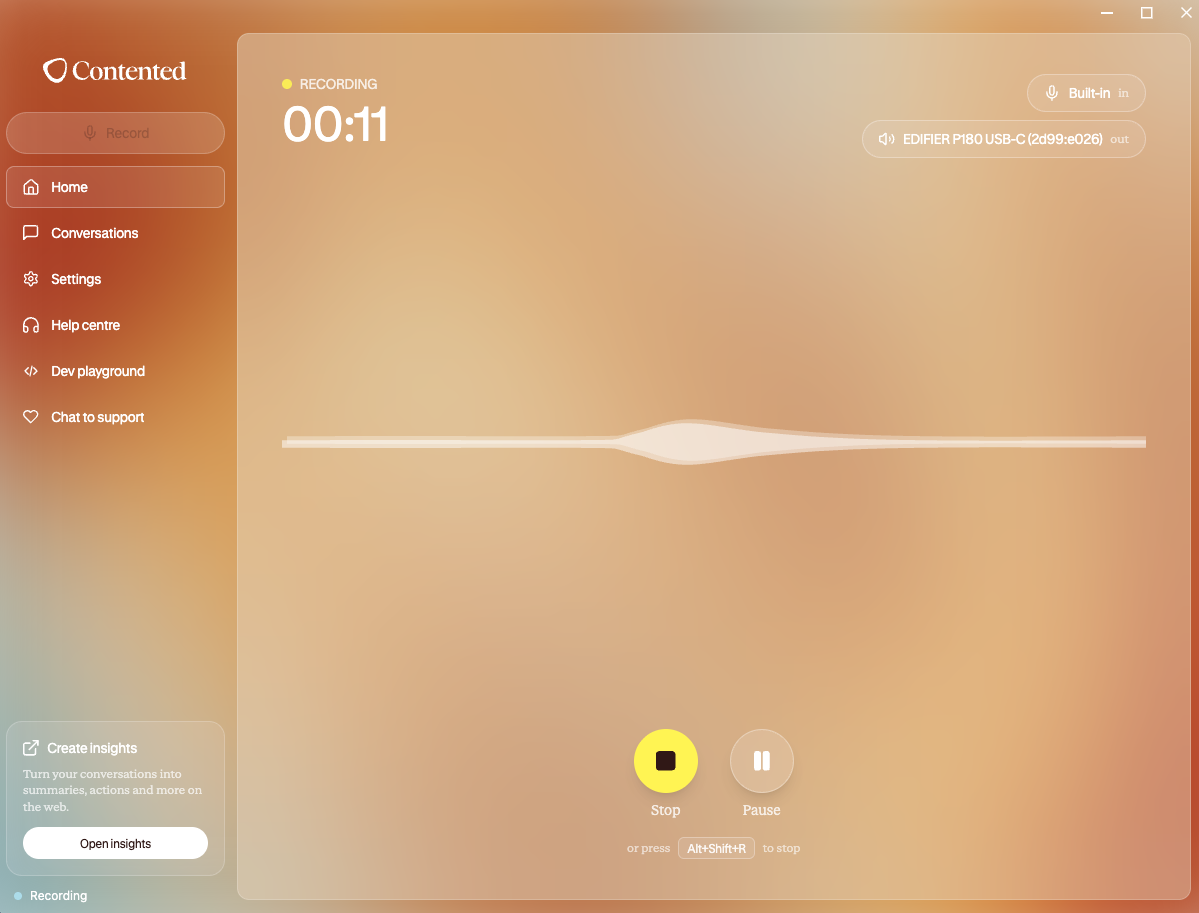
While you're recording
Once you're recording, Contented shows you a few simple controls, including pause and stop, which work as you'd expect.
You'll also see a timer counting up, so you know how long you've been going.
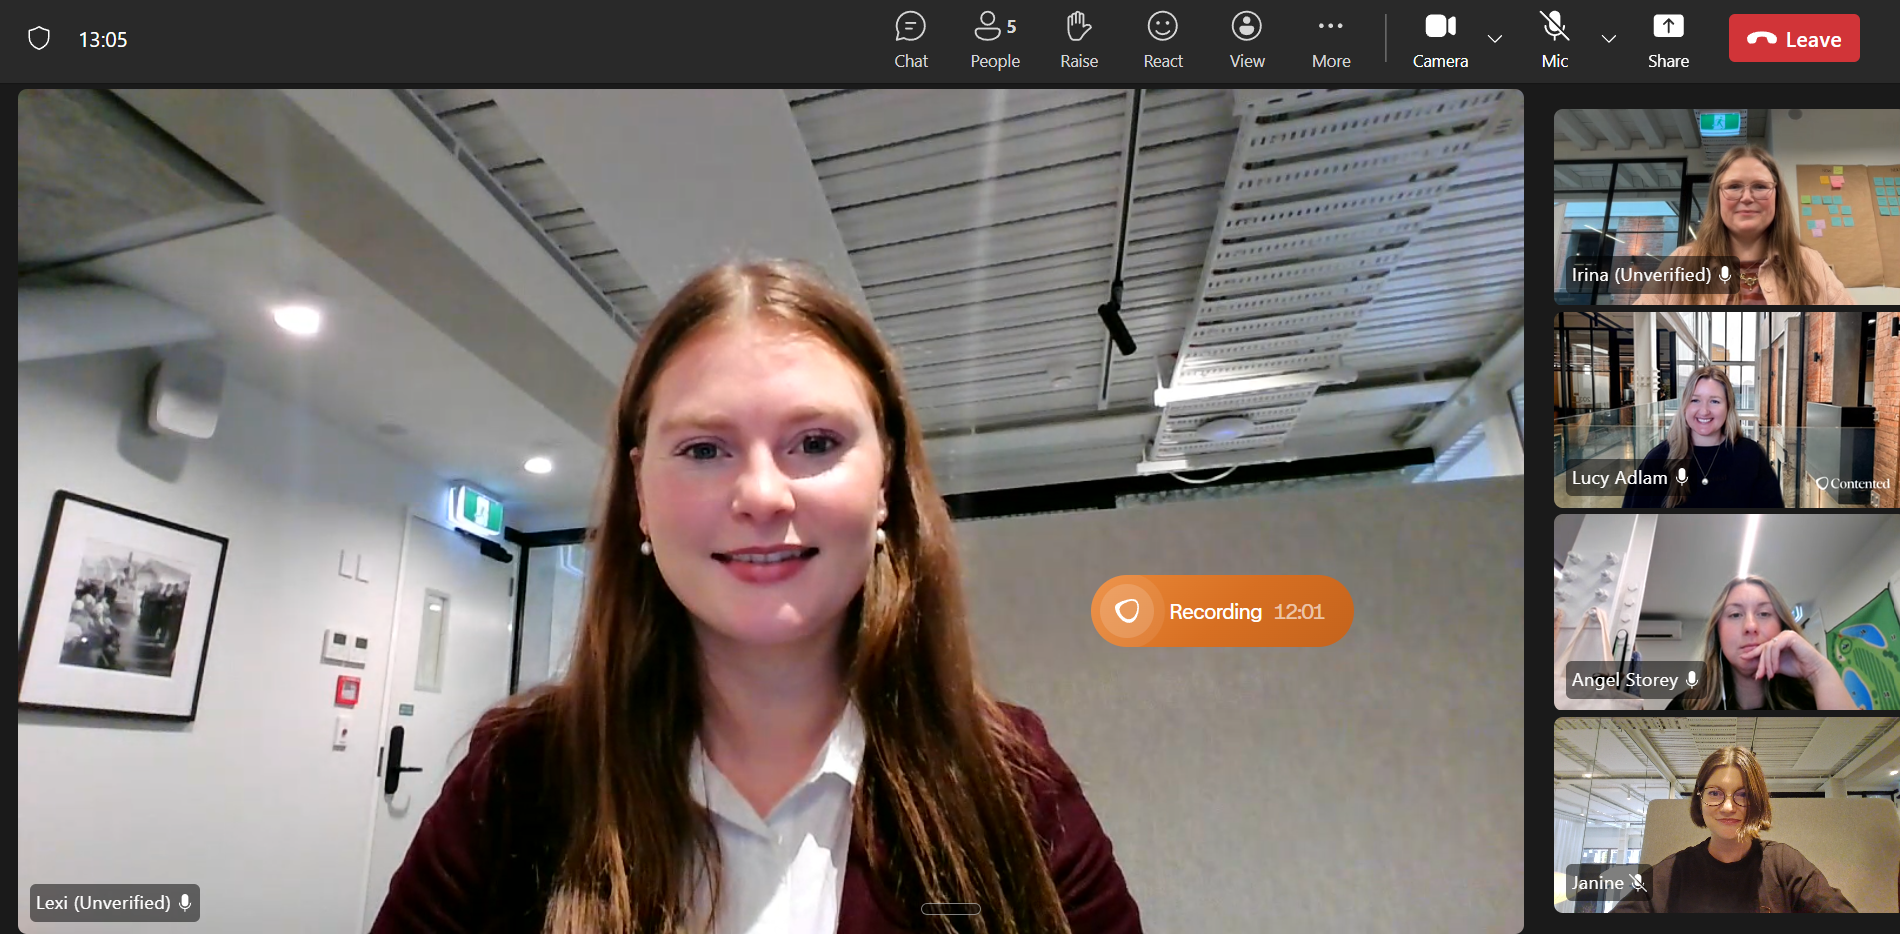
The recording pill
So you don't have to keep the big window open, Contented shows a small bar (we call it the "pill") floating on your screen with just pause and stop on it. It stays out of your way while you get on with the conversation. You can switch this on or off in Settings → General → Show recording pill.
Stopping and saving
When the conversation's done, click stop (or press Alt + Shift + R again). Contented saves your recording and automatically syncs it to your workspace. You'll find it in Conversation history (the speech-bubble icon in the menu on the left), listed under the day you recorded it.
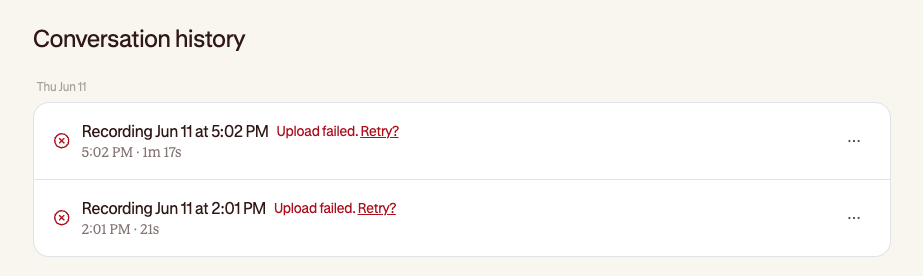
Each conversation shows a little green tick once it's securely uploaded. If you see a spinner, it's still saving. If something goes wrong, you'll see Upload failed with a Retry? link you can click.
What happens next?
A recording on its own is just the audio. To turn it into useful, polished documents and content such as an action table, a follow-up email, or a decision log, pop over to your Contented workspace. We explain exactly how in the Creating insights guide.
Quick tips
Keep your computer awake while recording — if it goes to sleep, it can't listen.
Wearing headphones is absolutely fine. Contented still captures everything you can hear (see Choosing audio sources).
Always let people know they're being recorded. It's the kind thing to do. The consent reminder is there to help you remember.
Stuck on anything? Head to Chat to support in the menu and we'll happily help.